Create a customer
Create a customer in the user interface
To create a customer in the user interface, enter the required details: the customer's name and email. You can also add a billing address, a phone number for SMS notifications, a shipping address, and details of an organisation the customer belongs to.
-
Access the New Customer pop-up by one of the following methods:
-
On the navigation bar, select Customers. In the top right corner of the Customers list, click (+).

Click (+) in the top right corner of the customer list
-
On the navigation bar, click (+), and select Add Customer.

From the add menu, select Add customer
-
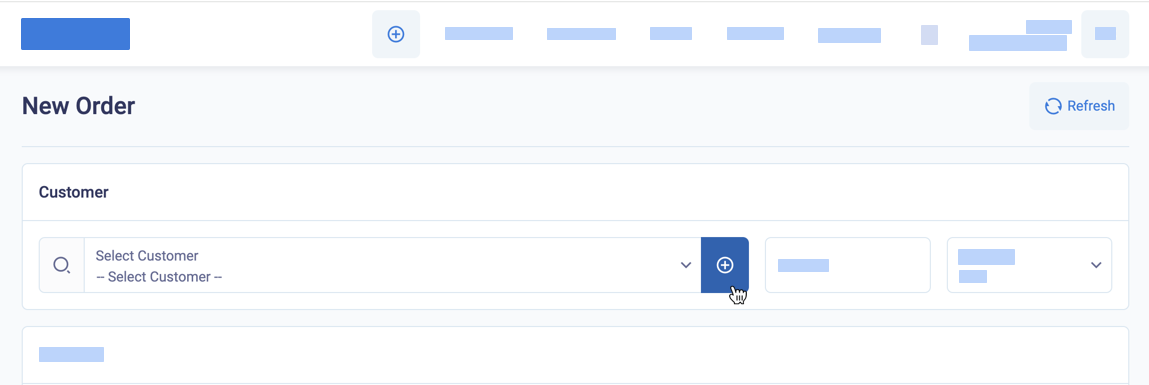
When you are creating an order, in the Customer section, click (+)

-
-
Enter customer Contact details
-
Enter Firstname and Lastname.
-
(Optional) Enter a Customer ID. If you do not enter one, BillPro creates one for you. BillPro also creates an internal ID to identify each customer uniquely.
-
Enter the customer's Email to send notifications and payment requests.
-
(Optional) To send payment requests by SMS, enter the Country Code and the customer's Phone.
-
(Optional) For the DOB DD/MM/YYYY, enter the customer's date of birth.
-
(Optional) To classify the customer, enter or select Tags. Tags are text labels for internal use only.

You can assign tags to a customer when you are creating the customer, and you can change them later. You can use the same tags for orders and customers. As an example of how you can use tags for customers, assign a VIP tag to your best customers to ensure they get the best prices.
-
-
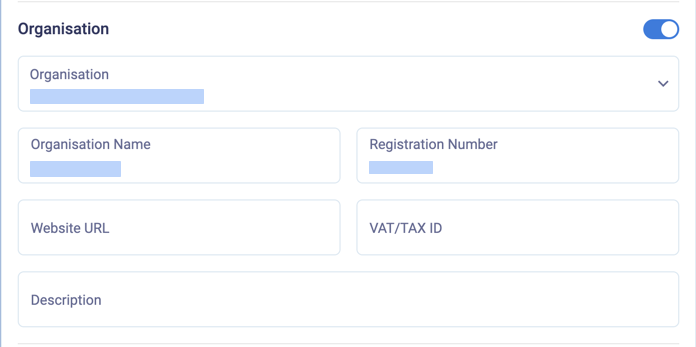
If the customer represents an organisation, click the Organisation toggle switch to set it to
ON.-
Select an existing organisation or
-
For a new organisation, enter the Organisation Name and Registration Number. (Optional) For the new organisation, enter the Website URL, VAT/TAX ID, and a Description.

-
-
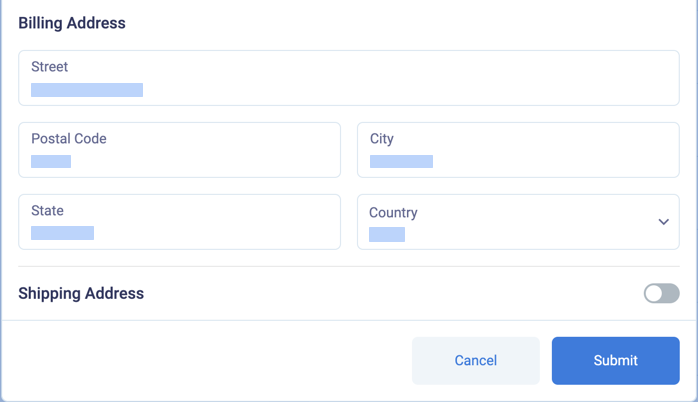
(Optional) Enter the Billing Address
- Enter the Street name and number, Postal Code, City, and the State (optional).
- For the Country, select from the dropdown list.
-
(Optional) Enter the Shipping Address if the customer's shipping address differs from their billing address. Select the Shipping Address toggle switch to set it to
ON, and enter the address.
-
To save the customer, click Submit.
BillPro creates the customer account and displays the customer record on the Customers list. When you open this list, it is in alphabetical order by NAME. You can navigate the list with the paging arrows or use the Filters to locate an individual customer.
Updated 3 months ago
Now you can also import customers from CSV files, or create them using the API. Then create a product catalogue.