Display order details
View order details, payment details, events, notes, and tags
To display and manage an order, do these steps.
- In the navigation menu, go to Orders.
- If the order is not shown on the first page in the most recent date order, you can use the page controls to move through the pages.
Or, in Filters, for ZUID, enter the order ID or text to search for the order by customer name, or select from the order filters and click Apply. - In the Orders list, click the order ID or the CUSTOMER.
The Order Summary will display the order details, customer and product details, and any Related Transactions for payments made by the customer.
Order details
The Order Summary contains a panel of order details, including the payment configuration and amounts.
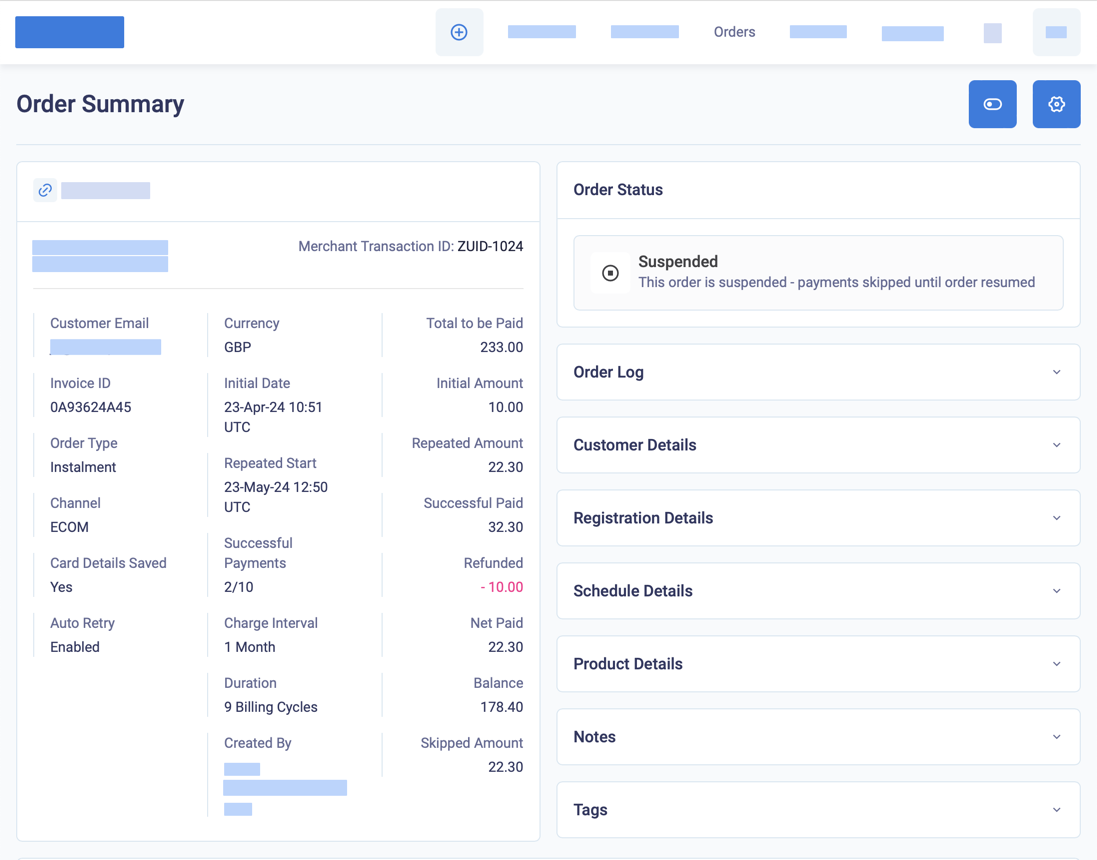
The Order details panel displays the payment information
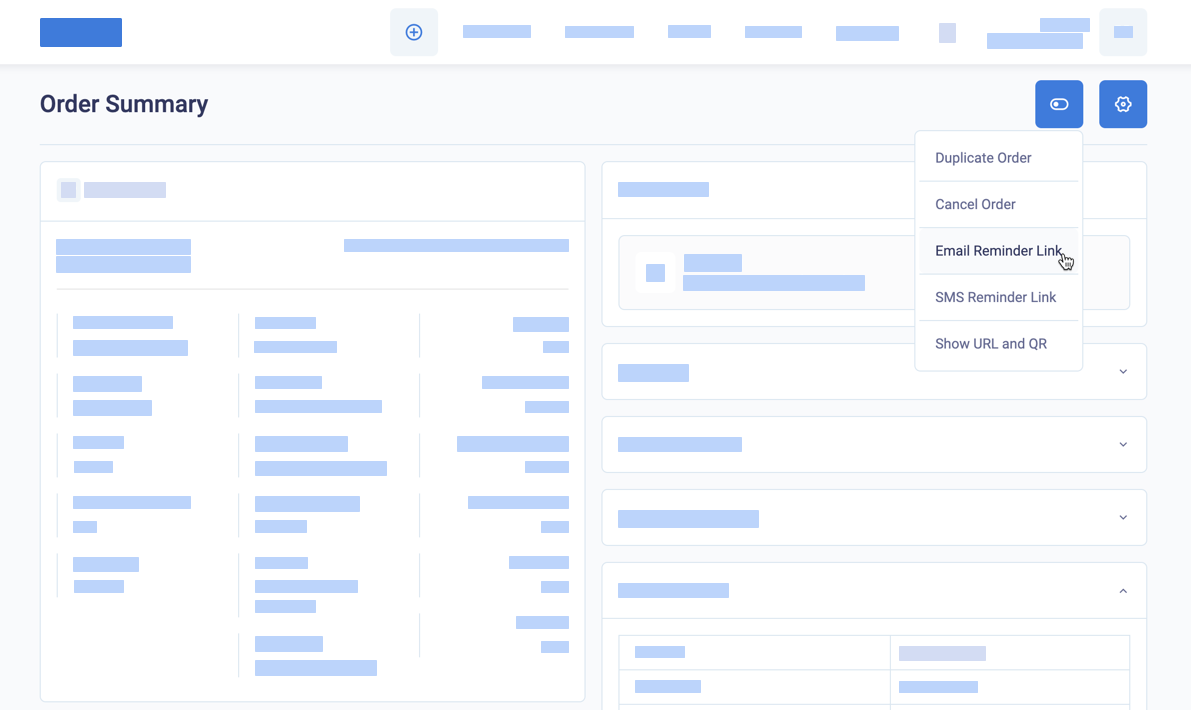
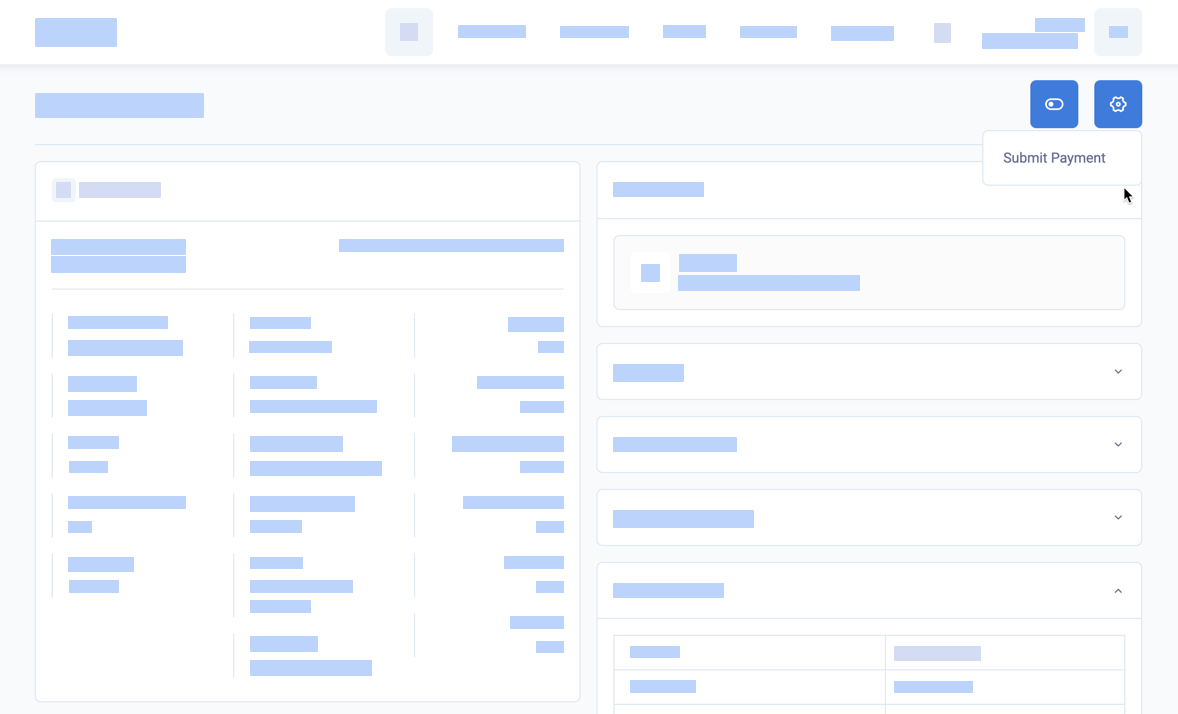
The Order Summary contains two menus for managing orders.
To access the order actions menu, click the toggle switch button.
Order actions menu
To access the order options menu, click the gear switch button.
Order options menu
Payment configuration
Depending on the order type, the order details panel can include the following payment configuration.
| Field | Description |
|---|---|
| Customer name | Click to open the customer account |
| Billing address | The customer's billing address |
| Merchant Transaction ID | The system identifier of the order with a prefix of ZUID- |
| Customer Email | The email to use for notifications |
| Invoice ID | The merchant's order ID, which was entered by the merchant or automatically generated by BillPro |
| Order Type | See Purchase types |
| Channel | The channel abbreviations are ECOM for e-commerce and MOTO for mail order telephone order. The channel is defined during card registration but can change depending on the payment processing flow. For example, a payment with the virtual terminal that requires 3DS will always be processed in the ECOM channel. |
| Card Details Saved | For a single payment order, if the customer saved their details when paying. For orders with recurring payments, BillPro saves the card details automatically. |
| Auto Retry | If the automatic retry is activated for the order. If auto-retry is activated for your merchant, BillPro retries billing events that were soft-declined for the number of attempts configured in your merchant account and then disables the auto-retry. See Auto-retry billing events |
| Currency | The order currency |
| Initial Date | Date and time that the order was created |
| Repeated Start | Date and time of the first repeated payment |
| Successful payments | The number of payments collected successfully, a slash (/), and the total number of payments the customer will make. For a subscription or metered order, the two hyphens (--) after the slash represent an unknown total number of payments because the order is active until cancelled. |
| Charge interval | How often the billing events are scheduled, or for metered orders, it is Unscheduled |
| Duration | How many billing events are scheduled, or for subscription and metered orders, it is Order Good Until Cancelled. To cancel an order with recurring payments after it is made active with the first payment, mark it as Complete. |
| Created by | The email address of the agent who created the order |
Payment amounts
The payment amounts section of the order summary can include the following details
| Field | Description |
|---|---|
| Total to be Paid | For single payment and instalment orders |
| Initial Amount | The amount of the first payment |
| Repeated Amount | The amount of the repeated payments for subscription and instalment orders |
| Successful Paid | The total amount of approved transactions |
| Refunded | The amount returned to the customer |
| Net Paid | Net Paid = Successful Paid - Refunded Amount |
| Balance | For instalment orders, Balance = Total to be Paid - Successful Paid - Skipped Amount |
| Skipped Amount | The total amount of skipped payments |
Display the payment schedule
To display the billing event schedule, in the Order Summary, open the Schedule Details section.
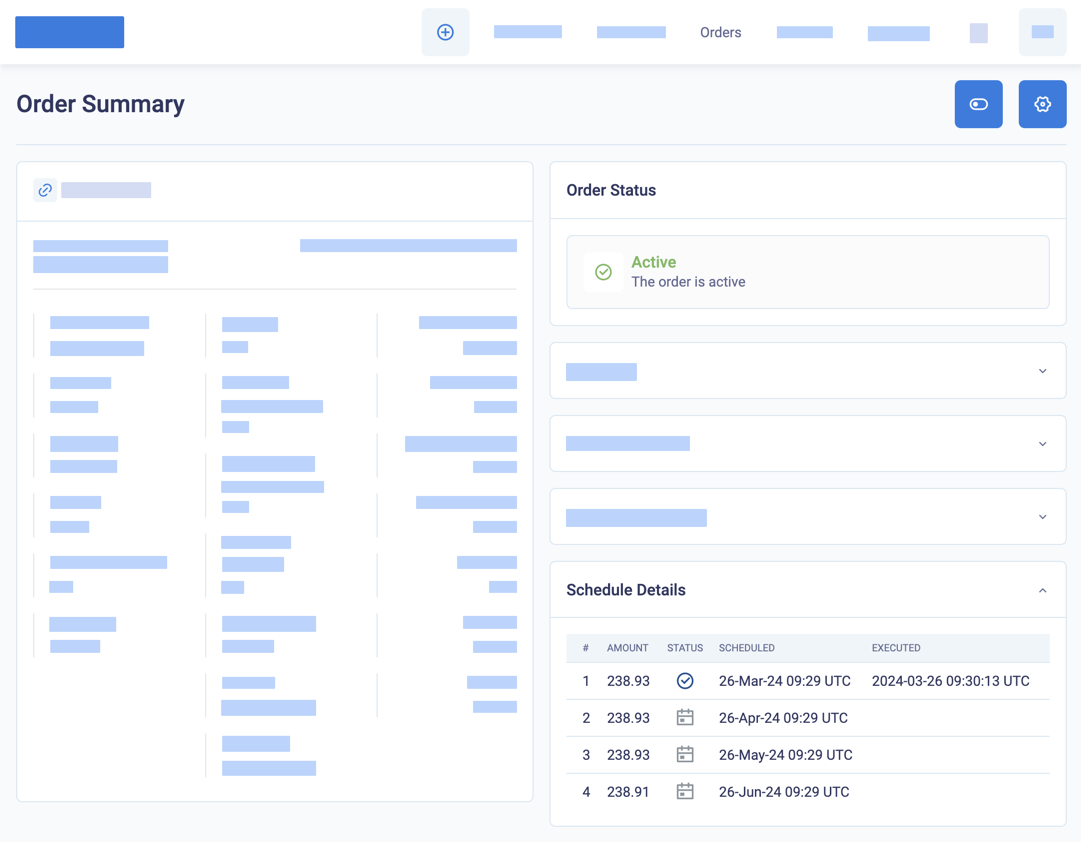
The Schedule Details section displays the billing events for the order with a billing event status symbol. For more details, see Billing event status
Create order notes
To record information about an order, create notes. You can view and enter Notes when you display the Order Summary.

Display and create notes for an order
Group or classify orders
To group or classify orders, you can create Tags when you create an order. When you edit a draft order, you can modify Tags. When you display an order, you can display Tags, but you cannot modify them. The Orders report includes the tags on each order.
Display tags for an order
Display details of the customer
To display the details of the customer associated with the order, open the Customer Details section on the right side of the Order Summary page.
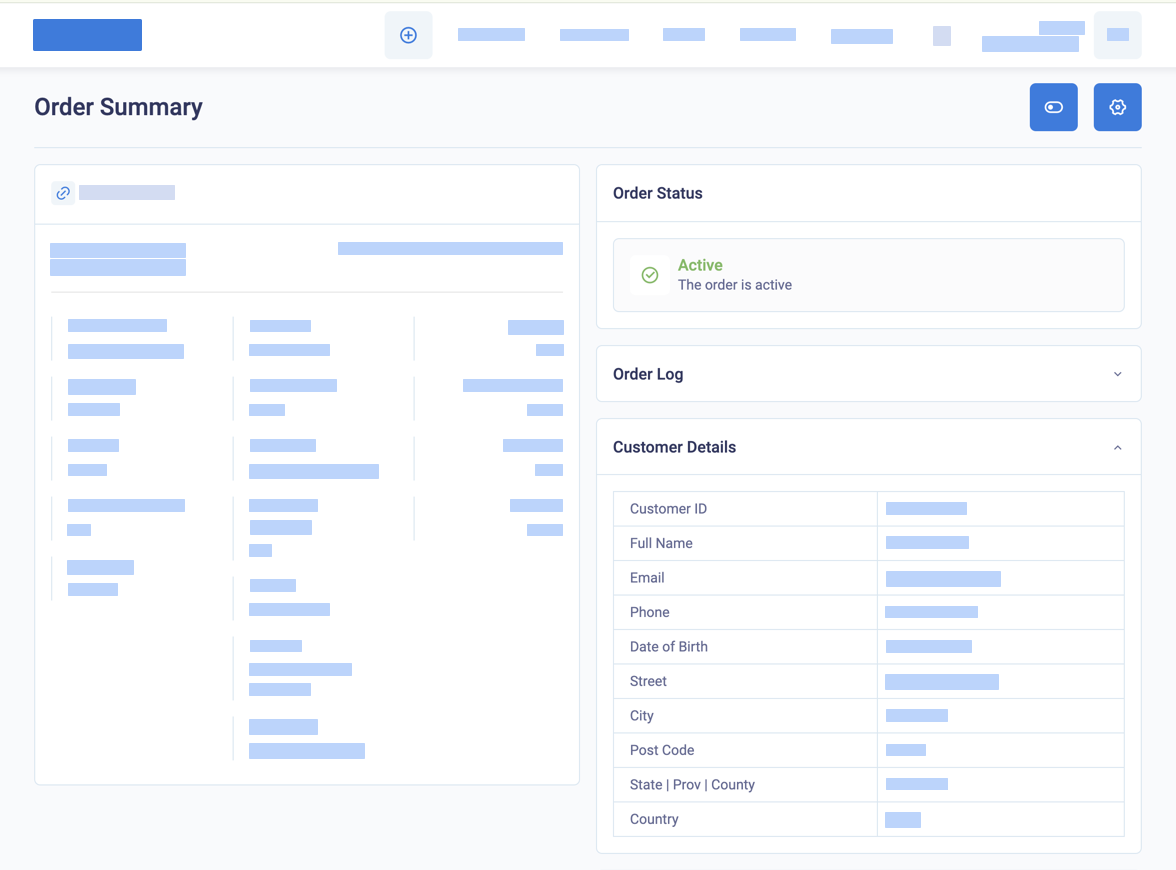
Display the details of the customer in the order summary
To open the full customer record, click the link icon beside the customer name at the top of the order summary.
Display product details
To display the details of the products in the order, in the Order Summary , open the Product Details section. The details displayed here are the details of the products at the time the order was made, including the price. Note that there may be more than one product in the order for single-payment products. The product ID shown is the merchant's product ID.
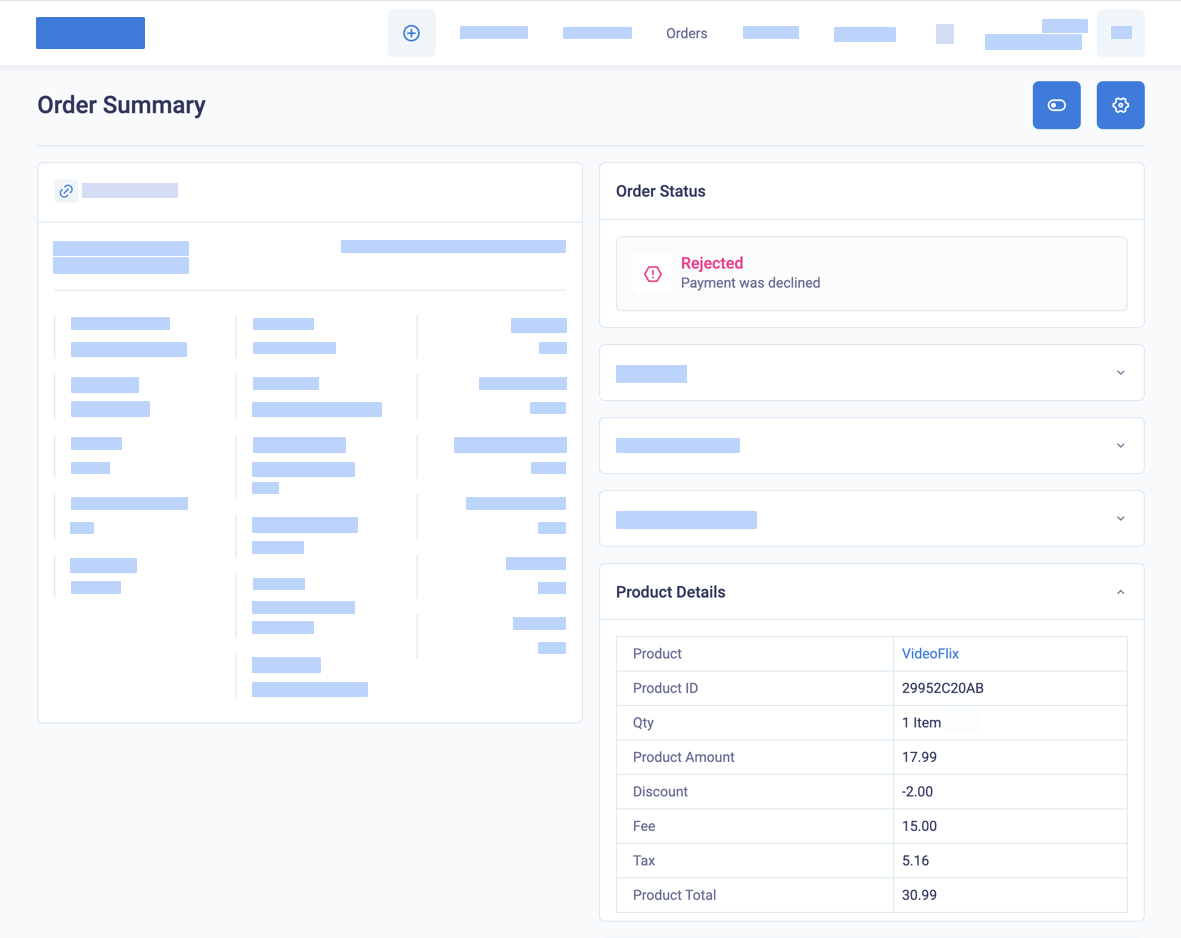
Display product details for an order
To display the full details of the original product in the product catalogue, click on the Product name link.
Product details may differ in ordersIf you make changes to your products, or if you did not lock pricing and payment configurations in your product, the details of a product in an order may be different from in the product catalogue.