Maintain your product catalogue
You may need to change your product offering and pricing as your business evolves. This section describes how to manage these changes by preventing the use of product groups and pricing elements. For details on deactivating products, see Display and edit products.
Deactivate discounts or fees or taxes
To prevent users from creating orders and products using discounts, fees, and taxes, you can deactivate them. To do this, set their status to Inactive. If they have not been used in orders, you can remove them from products and then delete them.
Before you begin:
- First, check that no orders use the discount, fee, or tax because you cannot delete it if it is used in orders. To do this, you can list orders with the API and search for the pricing element by name.
- Before you deactivate the discount, fee, or tax, determine which products use it. To do this quickly, you can list products with the API and then search for the pricing element by name.
- After you deactivate a discount, fee, or tax, to fully delete it from the product, edit each product that was using it and save the product. Then, you can delete the discount, fee, or tax.
To deactivate a discount, fee or tax, follow these steps.
-
Go to Products.
-
Then go to Discounts or Fees or Taxes
-
On the right of the discount or fee or tax, click the pencil edit button.
-
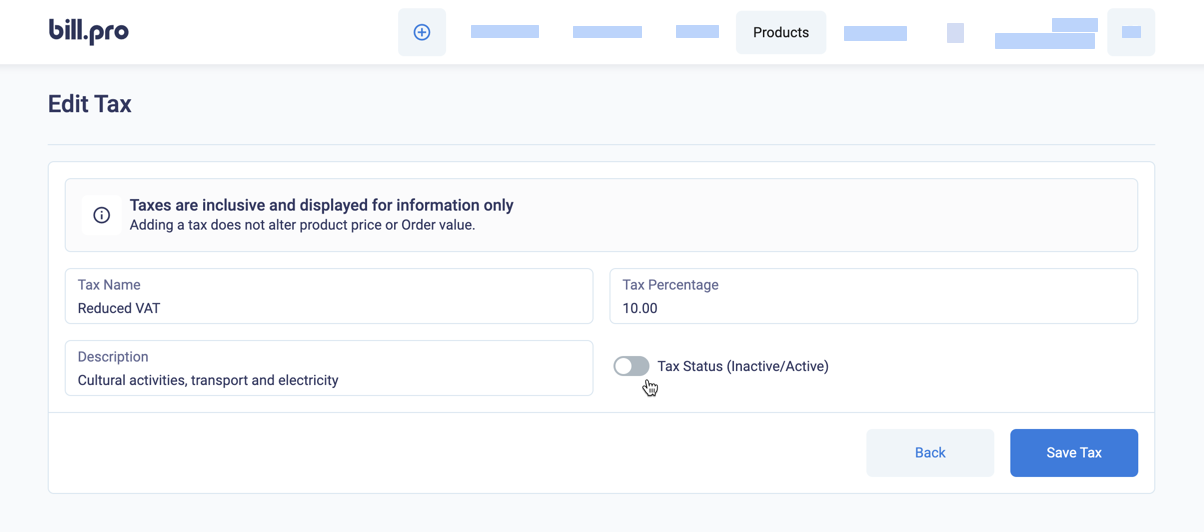
On the edit screen, set the status to
Inactiveand save.
Edit a tax to make it inactive
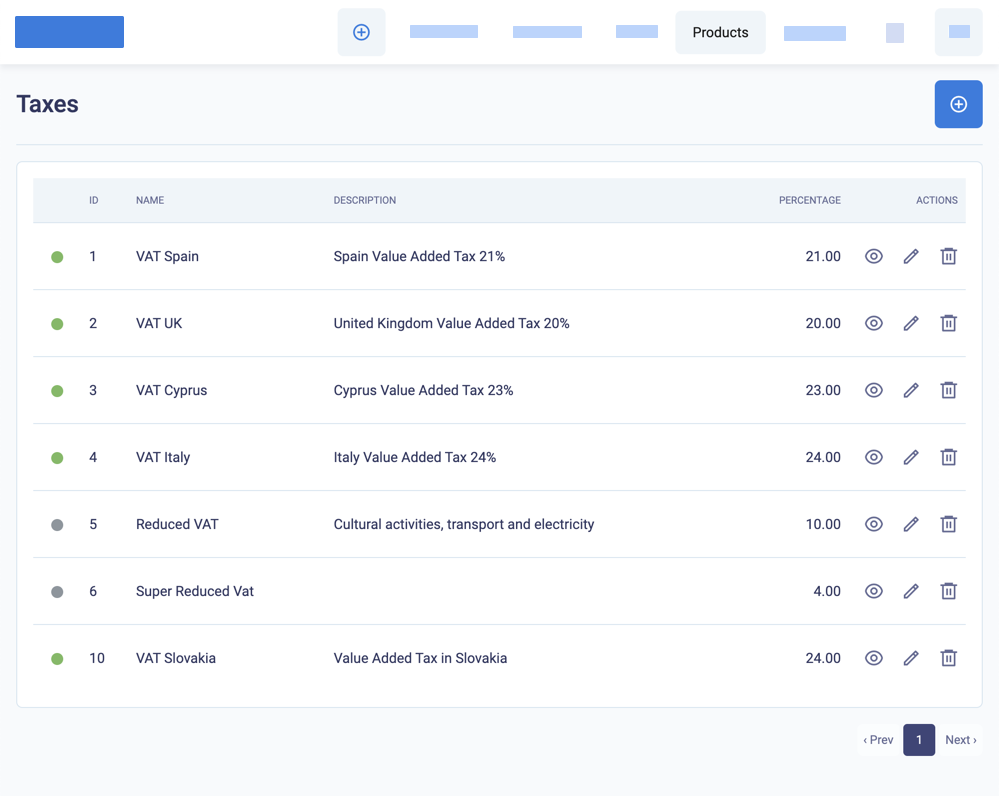
An inactive discount, fee, or tax is displayed with a grey flag in the main list for that pricing element. BillPro prevents users from selecting an inactive discount, fee, or tax in new orders.

The taxes list with inactive and active taxes
Delete discounts, fees, and taxes
Follow these steps to delete discounts, fees, and taxes if they are not used in orders.
- Deactivate the discount, fee, or tax as described above.
- If any products were using the discount or fee or tax, edit each product and save it.
- On the right of the discount or fee or tax, click the trash bin delete button.

Use the delete buttons to delete discounts that are not in use in orders or products
BillPro deletes the pricing element.
Delete a product group
To change how products are categorised, you may want to delete a group.
- You can delete a group if there are no products in the group.
To delete a group with products, first do these steps to remove the products from the group.
- Go to Products.
- (Optional) Go to Groups and create a new group. You can then add the products from the group to delete and return to Products.
- In Filters, for the Product Group, select the group to delete, and click Apply.
- If your search returns any products, edit each one, change the Product Group, and then save.
- Run the search again and edit any other products to change the group.
To delete a group with no products in it.
- Go to Products > Groups.
- Click the trash bin delete button to delete the group.
Delete a product unit
To adjust your product portfolio or change your unit naming strategy over time, you may want to delete a unit.
- You can delete a unit that is not used by any products.
To delete a unit that is in use, first do these steps.
- Go to Products.
- (Optional) Create a new unit to replace the unit to delete.
- Identify the products that are using the unit to delete.
- Edit each product and remove the unit, or change the unit to another unit.
To delete a unit that is not in use.
- Go to Products > Units.
- Click the trash bin delete button next to the unit.
Updated 4 months ago
Maintain your customer base and deactivate products